Awesome(And SomeWM 1.4) From Scratch
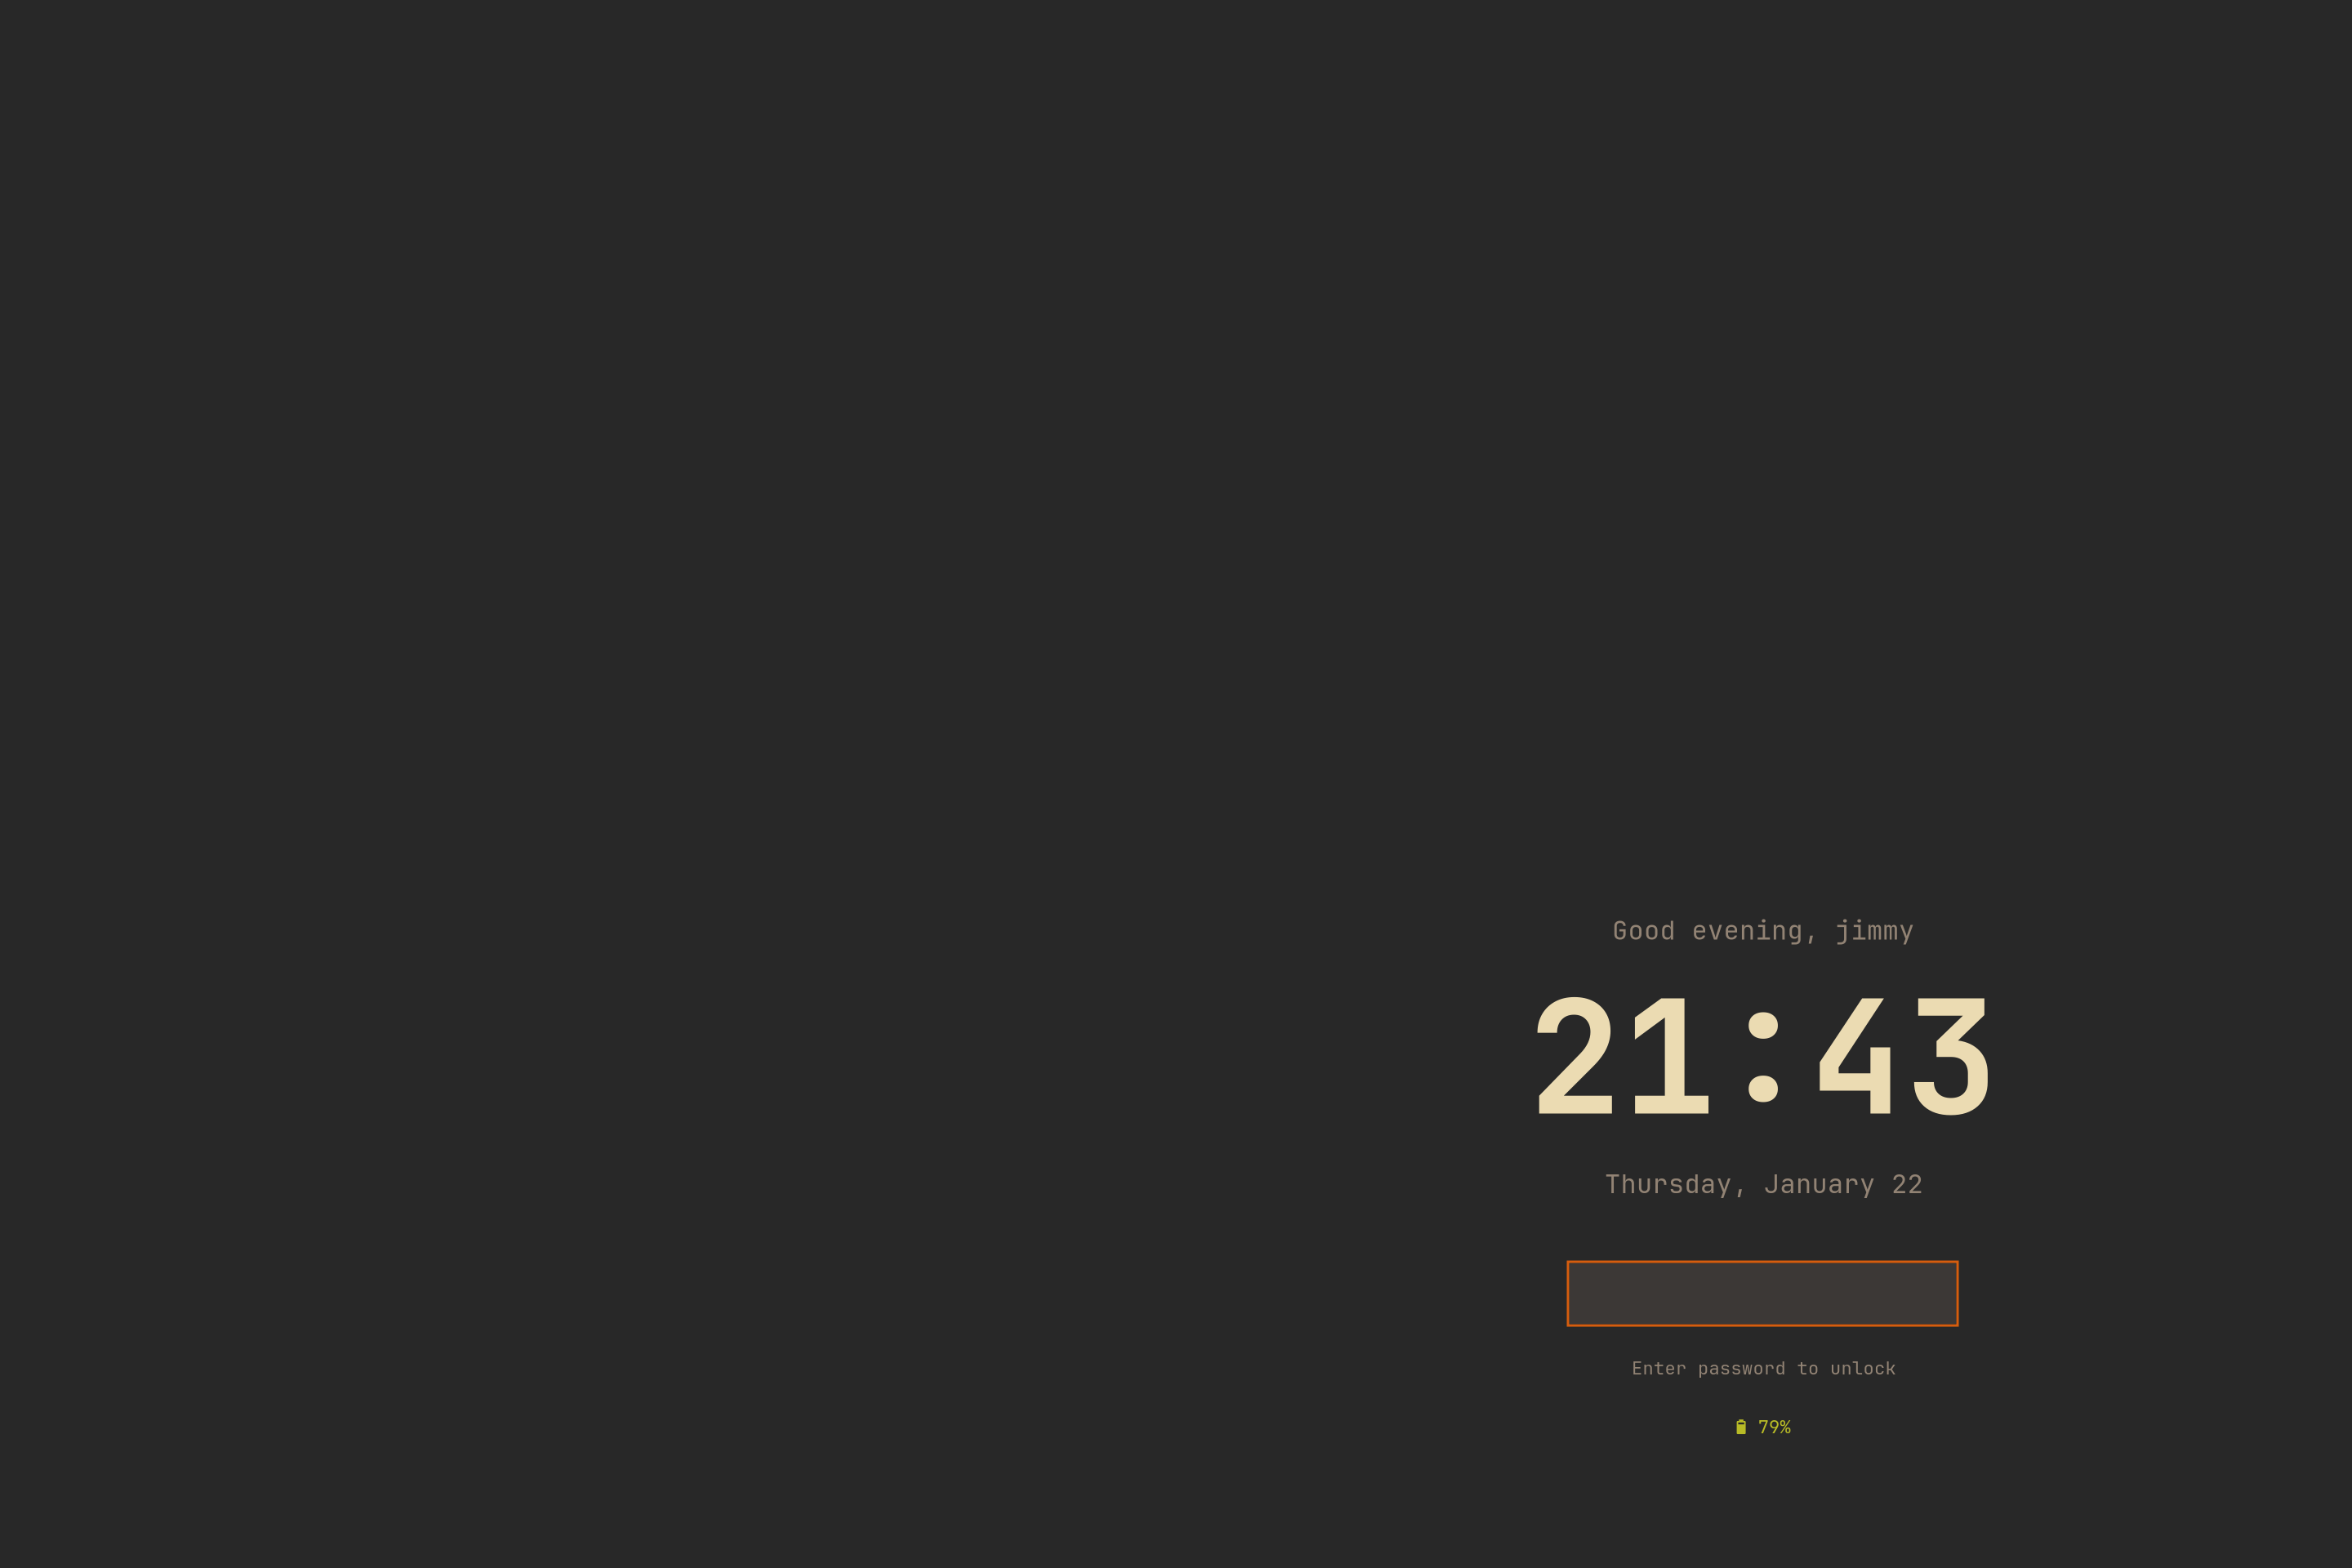
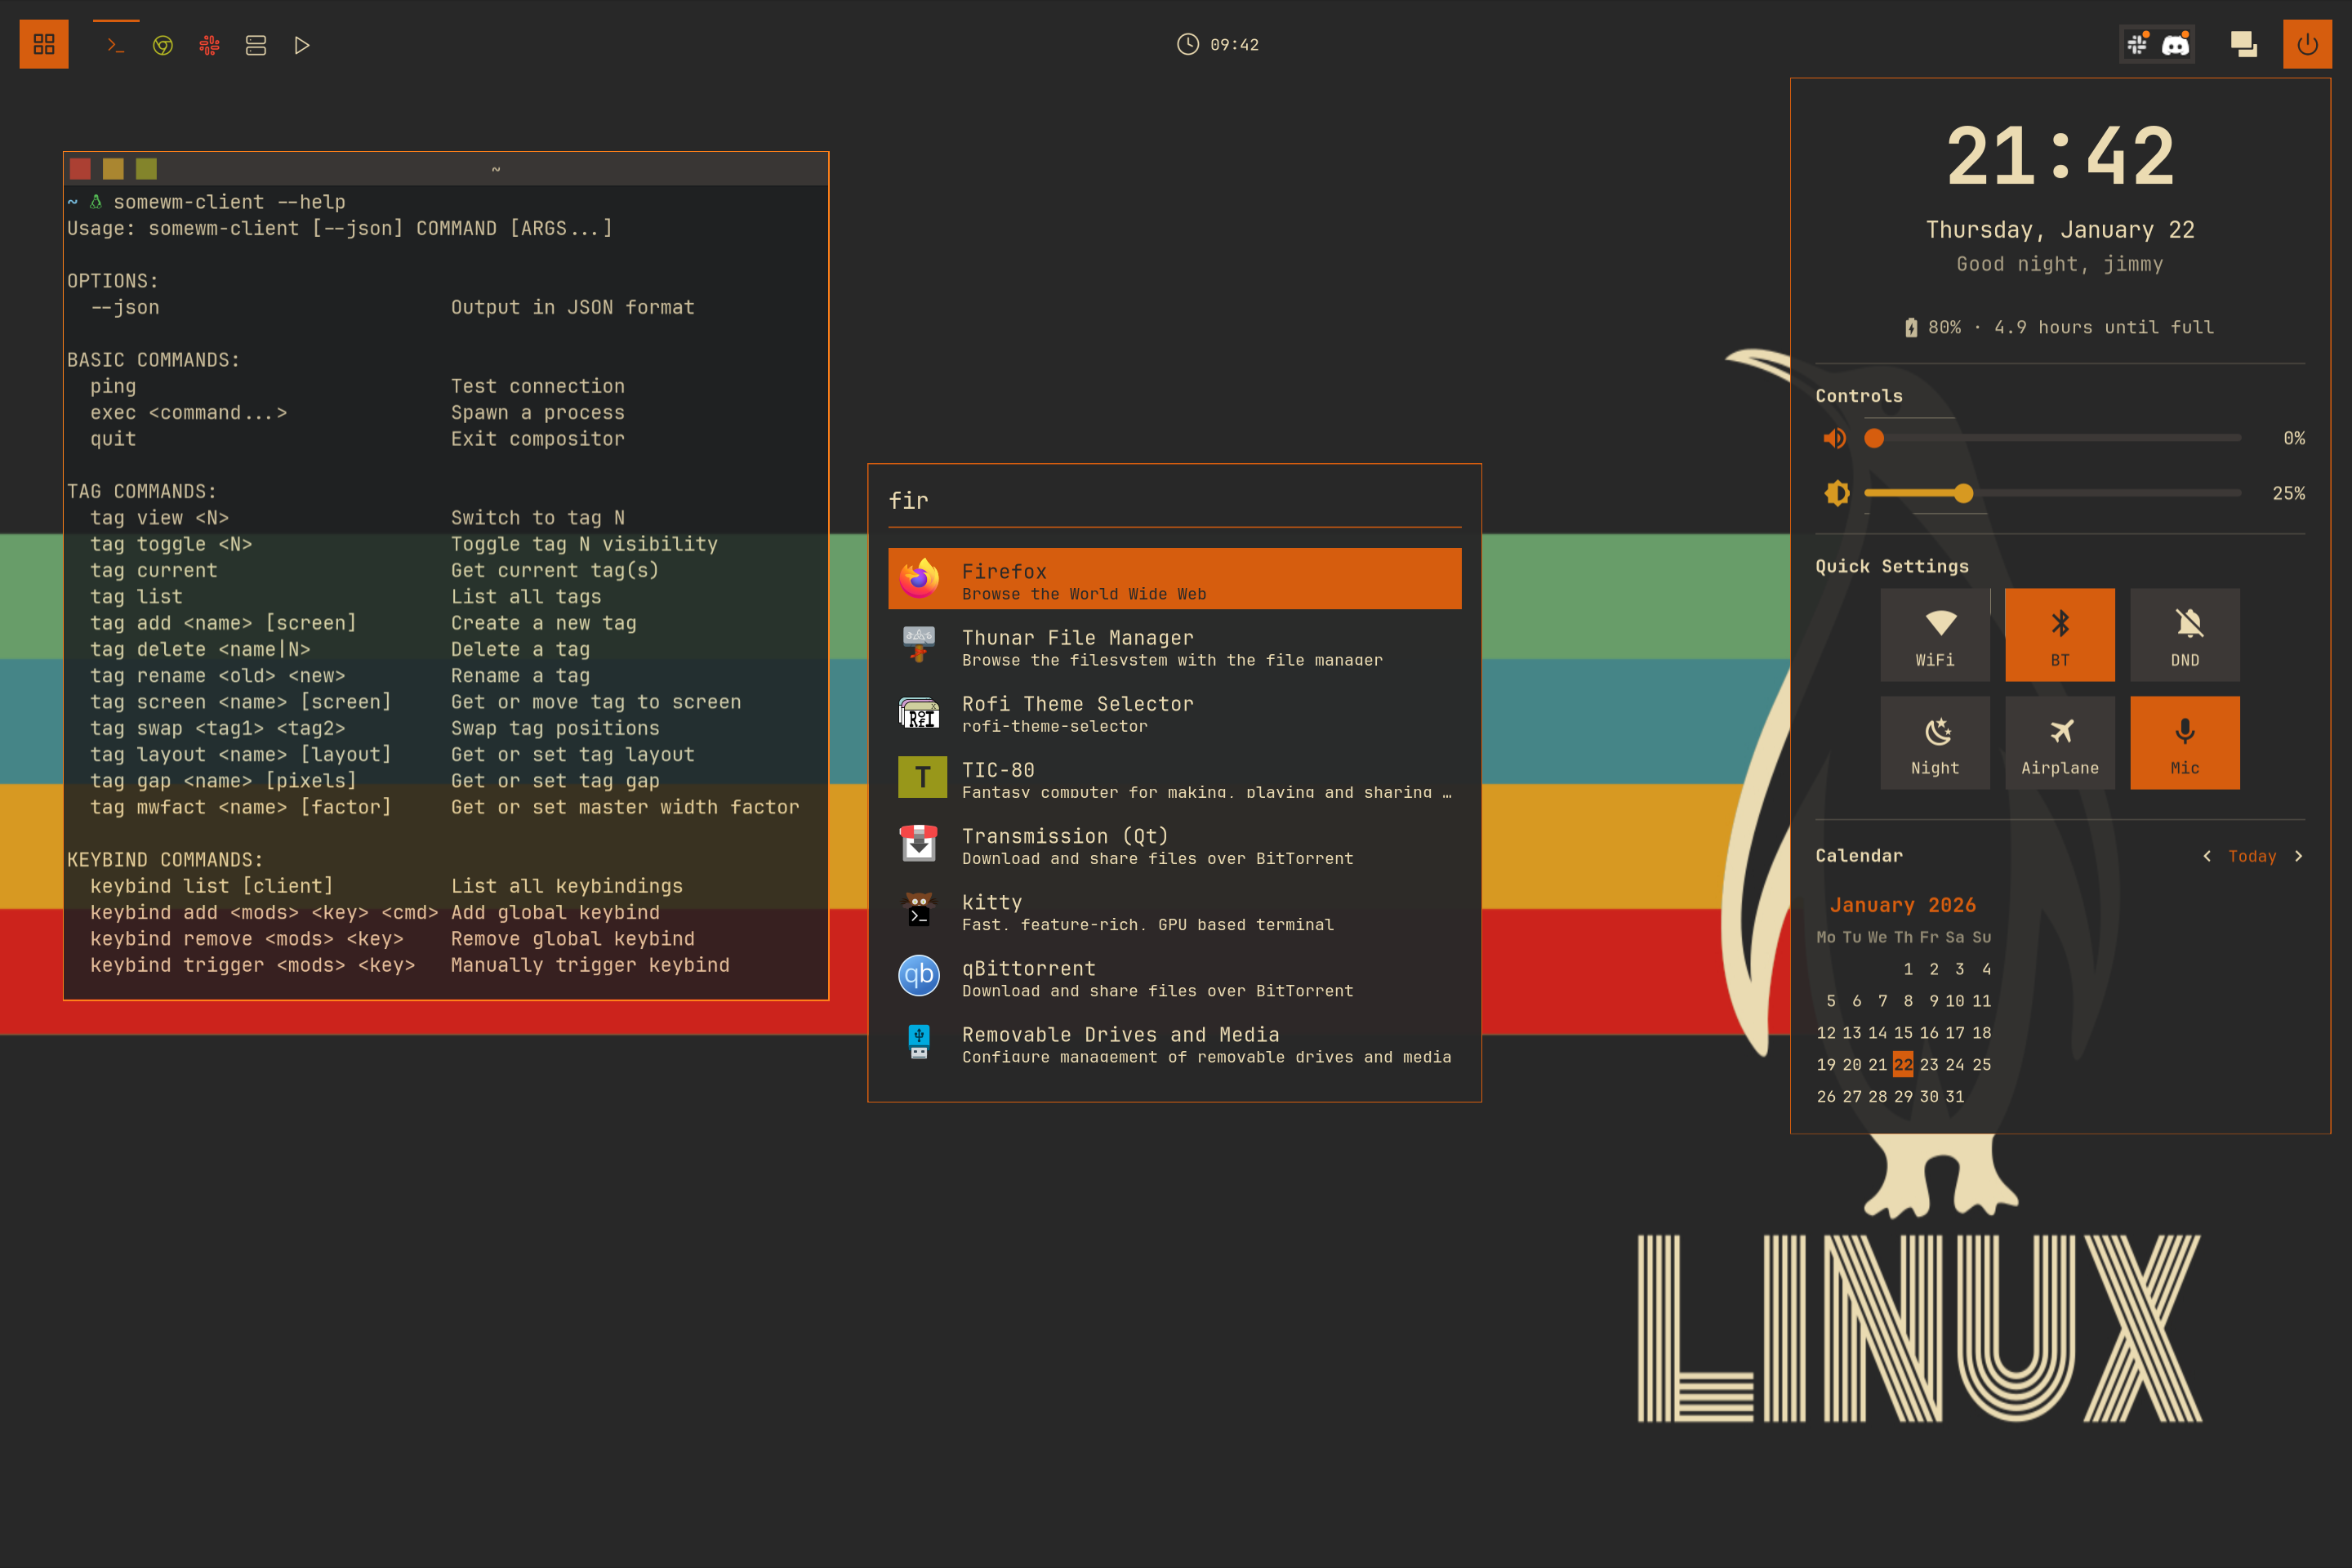
Build a complete desktop configuration from the stock config to a finished environment: a themed bar with live widgets, a notification system with history and a notification center, an app launcher, a control center, a window switcher, and a native lockscreen. Thirteen chapters, each one adding a single feature.
100% native. No rofi, no polybar, no conky. Everything in this series is built from the widget system.
Targets AwesomeWM and SomeWM 1.4. The checkpoint branches are written and tested against AwesomeWM (4.3 or later, current master included) and the SomeWM 1.4 series. SomeWM 2.0 is unreleased and ships a different default config.
Read it in order. This is a course, not a collection of recipes. Every chapter starts from the config the previous one finished, so chapter 10 opens launcher/init.lua expecting the theme from chapter 01, the wrapper helpers from chapter 03, and the modal pattern you extract in chapter 07. Jumping straight to a chapter that looks interesting means editing files that do not exist yet. If you want one feature bolted onto a config you already have, the short standalone tutorials are the right tool.
The Chapters
Chapters 00 to 05: the foundation
The structure every later chapter edits. Skip any of these and the files the feature chapters ask you to open will not exist.
- 00The Default ConfigThe baseline. What the stock rc.lua already does, and how to test a change in a nested session instead of your real desktop.
- 01ThemeA theme directory of your own: named palettes, semantic color roles, DPI-aware sizing, one global shape switch, and SVG assets recolored at load time.
- 02KeybindingsEvery binding moves into one scannable table in its own module, with the awful.key boilerplate generated instead of repeated.
- 03WidgetsFour real widgets and the shared wrapper vocabulary they are made of, fed by timers, async shell reads, and a custom signal.
- 04WibarThe stock bar goes away. A wibar factory, named tags with icons, a custom taglist that shows state, and a styled systray.
- 05Rules and TitlebarsWindows land where they should: apps routed to tags, dialogs floating, and titlebars drawn in your own theme.
Chapters 06 to 11: the features
A notification system, then a run of overlay UIs, all sharing one modal pattern that you extract yourself in chapter 07.
- 06NotificationsA full notification system: rule-based routing and styling, a history store with unread tracking, a notification center popup, and do-not-disturb.
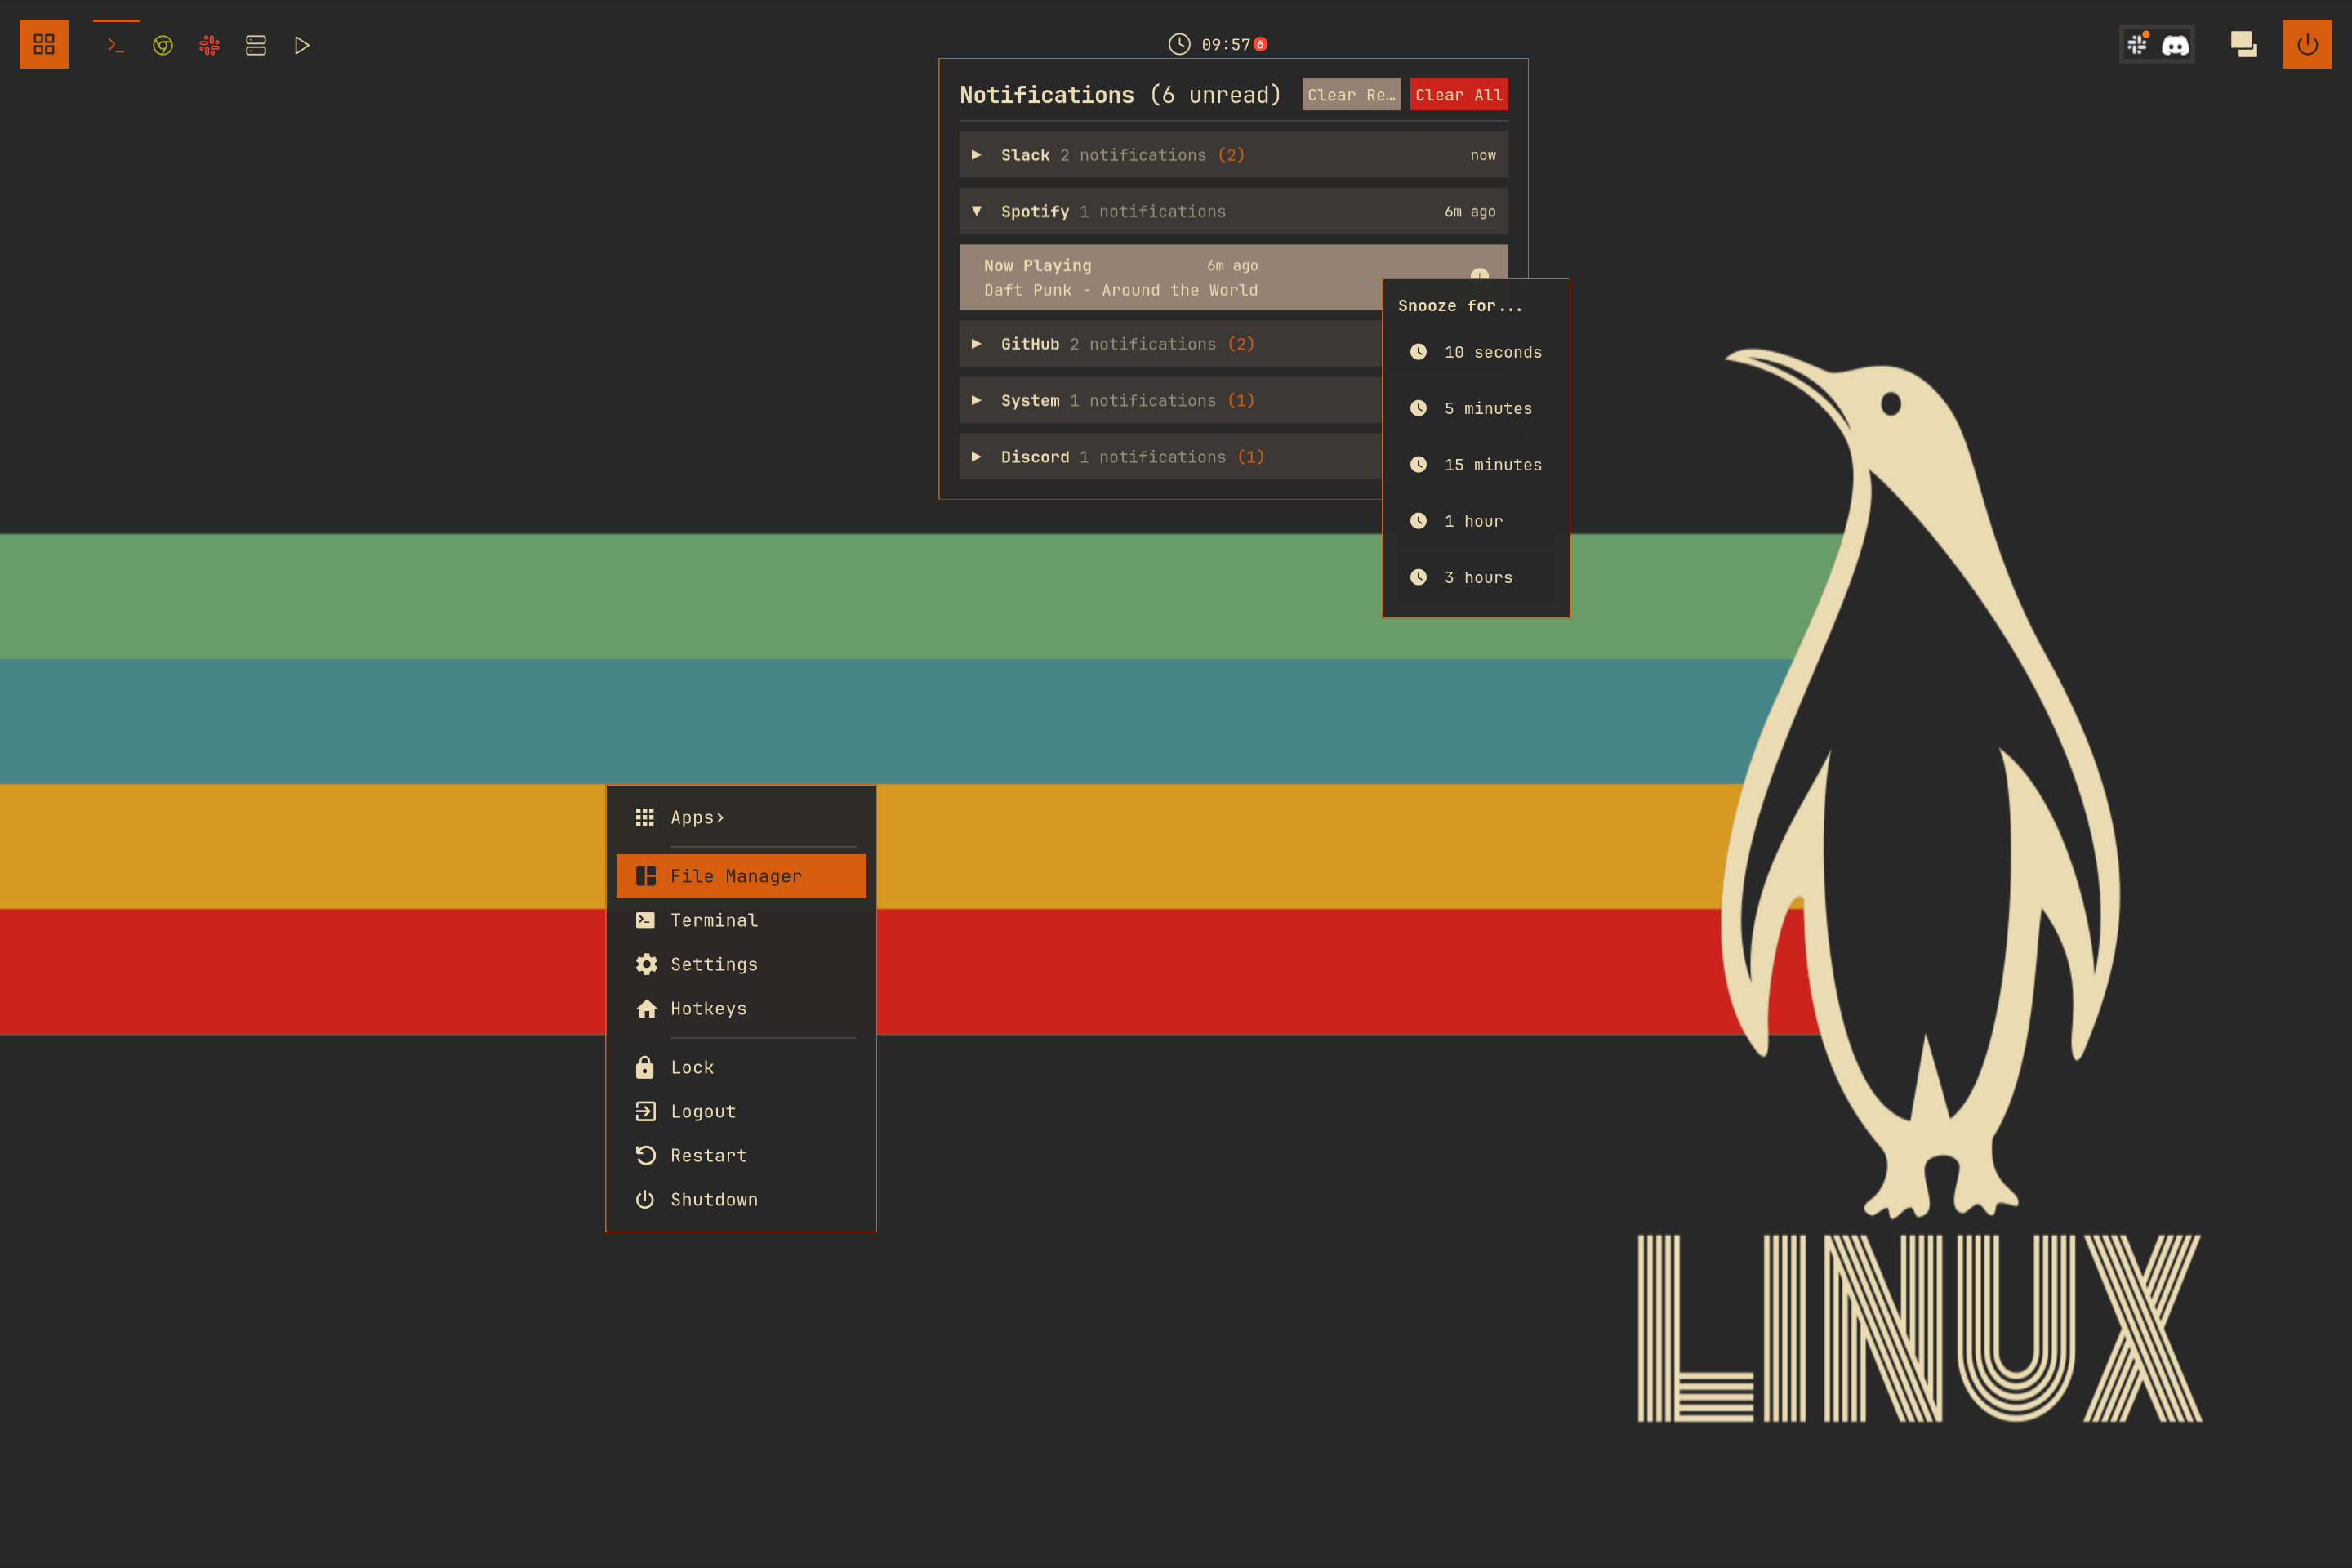
- 07Exit ScreenThe pivot chapter. Extract the modal pattern into modal.lua, refactor the notification center onto it, and build a power menu as its first consumer.
- 08Main MenuA data-driven, fully themed replacement for awful.menu, built on the modal pattern from chapter 07.
- 09Window SwitcherAlt-Tab semantics: clients ordered most-recently-used, and hold-and-release input that deliberately does not fit the modal pattern.
- 10LauncherA native fuzzy-search app launcher: parse .desktop files, scan asynchronously, score matches, and cache icon lookups on disk.
- 11DashboardProfile, sliders, toggles, and calendar composed into one popup, bound two ways to the system without feedback loops.
Chapter 12: the finale
A native lock screen on SomeWM's session-lock API. somewm-only
Who This Is For
You are new to AwesomeWM or SomeWM, and comfortable reading Lua. Every window-manager concept - widgets, signals, timers, theming, rules, keygrabbers - is explained when it first appears. Lua itself is not; if you can read a table constructor and a closure, you're equipped.
The configuration runs on both AwesomeWM (X11) and SomeWM 1.4 (Wayland). The handful of SomeWM-only features are marked with a badge like the one above, always with a note on what AwesomeWM users should do instead.
Prerequisites
- SomeWM or AwesomeWM master branch
- git and a terminal emulator
- JetBrainsMono Nerd Font (or any Nerd Font; you'll learn to change it in one line)
- Optional CLI tools the widgets shell out to:
wpctl(volume),brightnessctl,nmcli,bluetoothctl,upower,playerctl. Specifics are not as important as knowing which cli tools you have installed and how to call them from the terminal.
How the Checkpoint Branches Work
The companion repository is trip-zip/awesome-from-scratch. It has one branch per chapter, and every branch is exactly one commit on top of the previous one:
git clone https://github.com/trip-zip/awesome-from-scratch.git
cd awesome-from-scratch

git checkout 03-widgets        # the finished code for chapter 3
git diff 02-keybindings 03-widgets   # exactly what chapter 3 added
The recommended way to follow along: type the code yourself as you read, and use the branches to catch up, compare, or un-stick yourself. Checking out a branch and reading it works too - both are legitimate.
Running Your Work Safely
Never test a work-in-progress config on your real session. Both compositors can run nested in a window.
SomeWM:
somewm-client test start --config "$PWD/rc.lua" --name afs
That opens a nested SomeWM in a window; your real session is untouched. See testing with a nested compositor for the details, and note the Mod4 remapping caveat for nested sessions.
AwesomeWM: use Xephyr:
Xephyr :1 -ac -br -noreset -screen 1280x720 &
DISPLAY=:1 awesome -c "$PWD/rc.lua"
The config resolves its own modules relative to the rc.lua you point it at, so running from a git checkout works on both compositors.
How This Relates to the Other Tutorials
The SomeWM tutorials are short and standalone: if you just want to add a theme, widgets, keybindings, or a bar to your current config, start there. This series is a course: each chapter builds on the last, and you end with a complete configuration you understand top to bottom.
Start
Head to Chapter 00: The Default Config.